How to record a voice-over for your educational surgical video
The voice-over is a powerful teaching tool. As part of the surgical video, which complements the training given to residents and surgeons, it enlightens the images. What’s more, it can accompany the audience and tell the story of the video, emphasising the important points to remember.
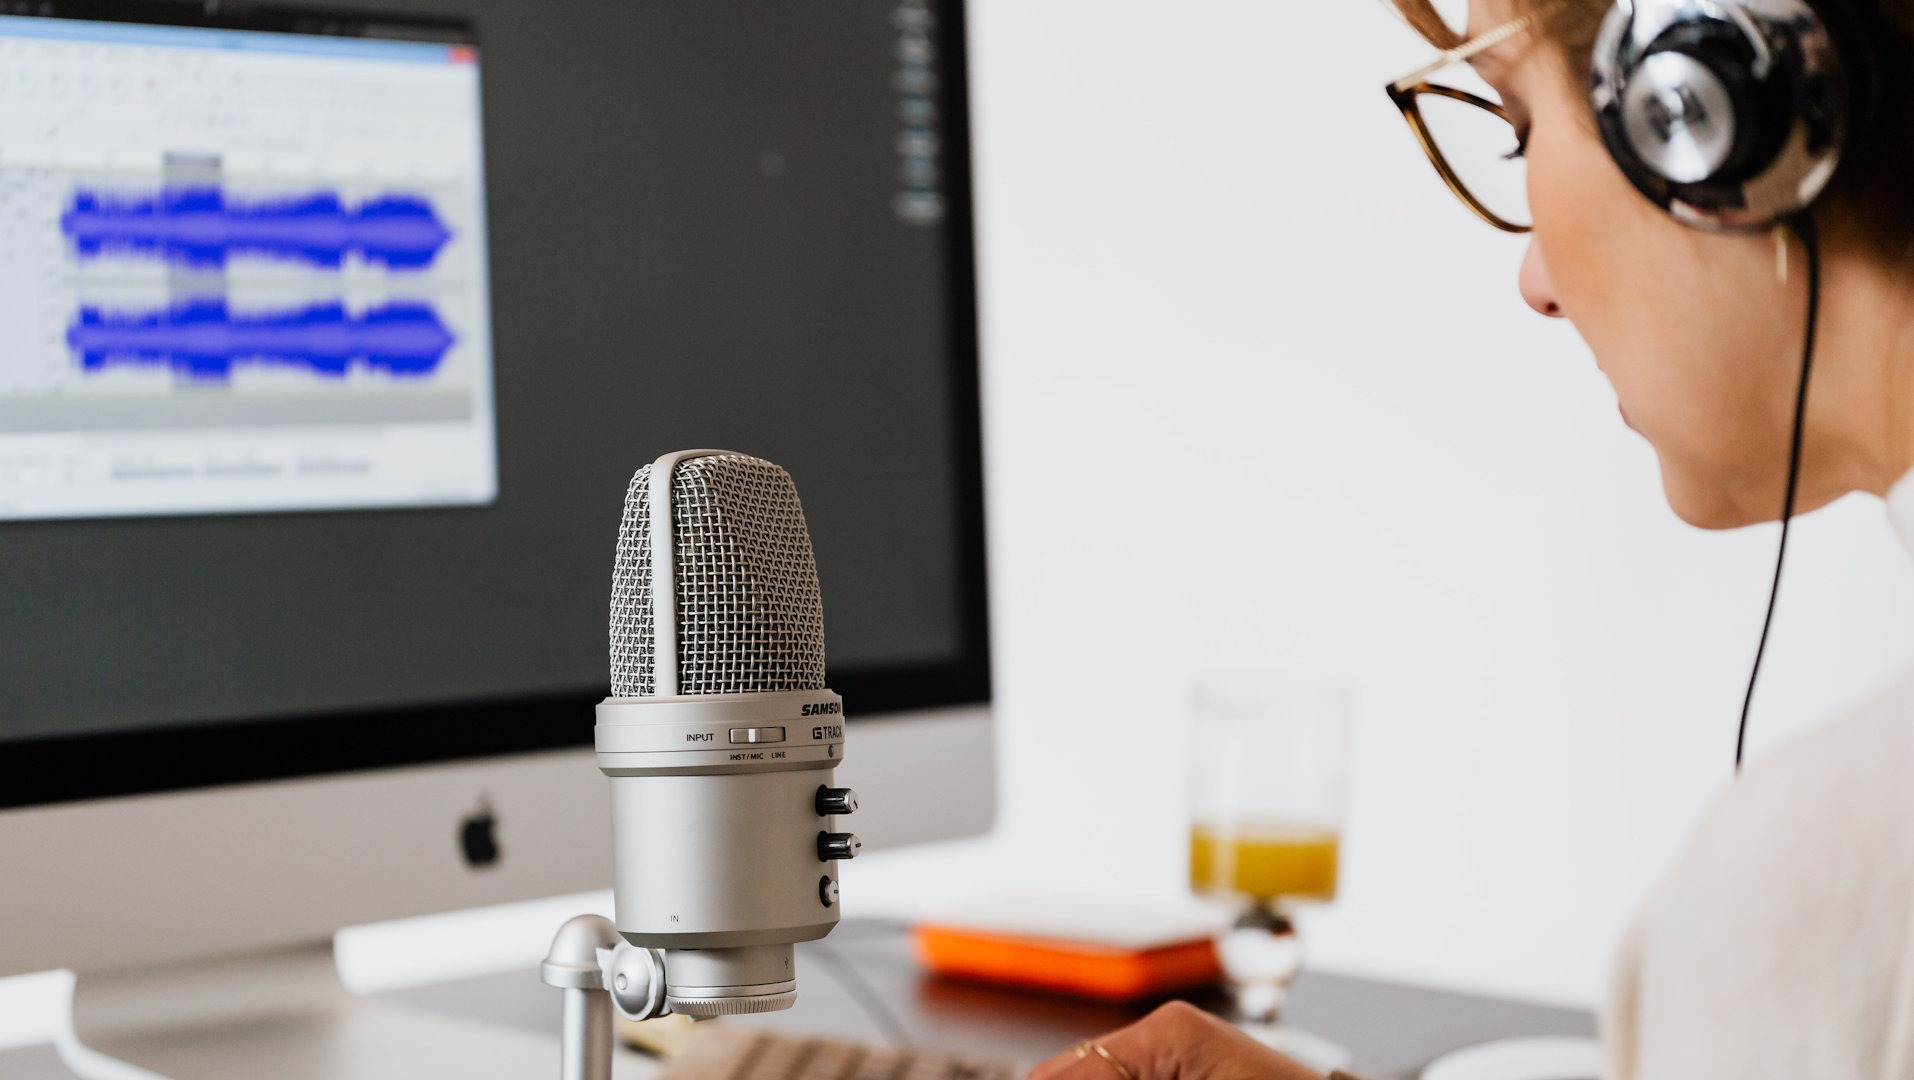
Narration
Recording the voice-over is an important step to increase the educational value of a surgical video.
A voiceover is a voice that accompanies a video document, in this case a surgical video, and that provides a different and complementary reading of the information conveyed by the images.
This storytelling technique is widely used in the world of journalism, marketing… and professional training.
For educational videos, a voice-over can improve the overall quality of a video:
- it improves clarity and precision of the message;
- it helps bring content to life, set the scene and increase the audience’s interest.
On the other hand, adding subtitles is a way of achieving more inclusive content, then accessible to people with hearing disabilities and those who don’t have access to sound at the time of viewing.
This article is a tutorial on how to properly record a voice-over, for the surgeon making an educational surgical video for the first time.
Preparing your text before recording
Before getting to the heart of the matter, it’s important to look at the first step: writing the text.
This guideline will be useful when drafting :
- Play the video regularly and work with it: this allows you to synchronise your text with the time as soon as you start writing and to construct your message according to the duration of each part;
- Bear in mind that a surgical video is a short format: the challenge is to be quick and exhaustive. To do this, you need to avoid elements that are not necessary to understand the information, and instead rely on the use of graphic elements (in the form of annotations, arrows, etc.) without duplicating them;
- use journalistic-style writing codes (short, simple sentences – subject, verb and complement – punctuated by non-verbal phrases) to improve accuracy and save time;
- don’t hesitate to reread passages aloud as you write, to adjust them as you go along and to check that they are easy to understand.
Then, ideally, you should test it by practising reading it several times before recording.

Recitation or improvisation?
Preparing your text in advance ensures that you record a complete narrative for your surgical video.
Create a quality audio track for free
There’s no need to spend money on equipment to produce quality voice-overs. Recording can be done :
- directly on the computer, using the audio editing software;
- on a separate device, such as a dictaphone or mobile phone.
It’s best to avoid microphones built into pairs of headphones, as well as internal computer microphones, whose quality is unstable and often poor.
Also, finding an audio editing software is recommended. For example, Audacity: a powerful and free tool, available on Mac and Windows, adaptable for beginners and professionals alike, and which is, in our opinion, the best in its category.
Find out more: tutorials for beginners to edit audio with Audacity
Tutorial: general recording tips
Whether recording is done on the computer or from an external device, some tips don’t vary.
- Set up in a quiet environment where there is no background noise;
- Choose an echo-free location – or fill the room (furniture, carpets, cushions, blankets and other fabric accessories are recommended) to control the acoustics;
- Speak in a calm voice, with a slow rate of speech, clear elocution and well-placed accents, and exaggerated pauses. On the one hand, to make it easier to understand and keep the audience’s interest, and on the other, to limit the risk of stammering;
- If you make a mistake, don’t panic: instead of stopping the recording, take a breath and start again. It is advisable to avoid recording the text in sections spread over several days, so as not to vary the recording conditions, and therefore the rendering.
Recording with a mobile phone
Owning a mobile phone of any brand is enough: it’s a free, high-quality alternative.
In this case, the final audio file or files (in the case of several takes) will have to be transferred to the workstation after the recording has been completed.
If it is hand-held, the main point of attention is to keep the distance between the microphone and the mouth stable (around 15 to 20 centimetres).
There are several application options:
- use the voice recording applications available on Android or iOS by default;
- Many applications offer the possibility of applying effects and filters to the sound via the smartphone screen, in addition to the dictaphone functionality.

Audio quality is crucial
To record the voice-over of a surgical video on a computer, it is almost necessary to have a dedicated microphone or to connect your smartphone to the computer.
Recording on the computer
If the person is equipped with a USB microphone, recording from their computer saves a little time.
The advice is much the same as for recording on the smarphone: keep the microphone-mouth distance stable, pay attention to ambient noise…
In this case, the recording can be made using a wide range of audio editing software, or on platforms available online.
Editing your audio track
Once the tracks have been recorded, to contextualize the surgical video, a few post-production manipulations are required. That said, dragging the track onto an audio editing tool is always a good idea and can be a game changer.
Creating a working template, from which all ‘standard’ quality files can be modified later on, will be more efficient:
- adjust the sound volume, striking a balance between sufficiently high volume and saturation;
- check whether white noise or pops are audible and clean up any silences;
- De-master the file (adjust silences according to the temporality of the video, cut out missed passages and pops, work on transitions, speed, music, etc.);
- don’t hesitate to divide up the audio work, thinking in chapters and sequences.
Once that’s done, the project comes to an end. The next stage mainly concerns details: exporting the track, finalising the minor editing, working on the subtitles, to obtain an educational product with very high added value.
Read more
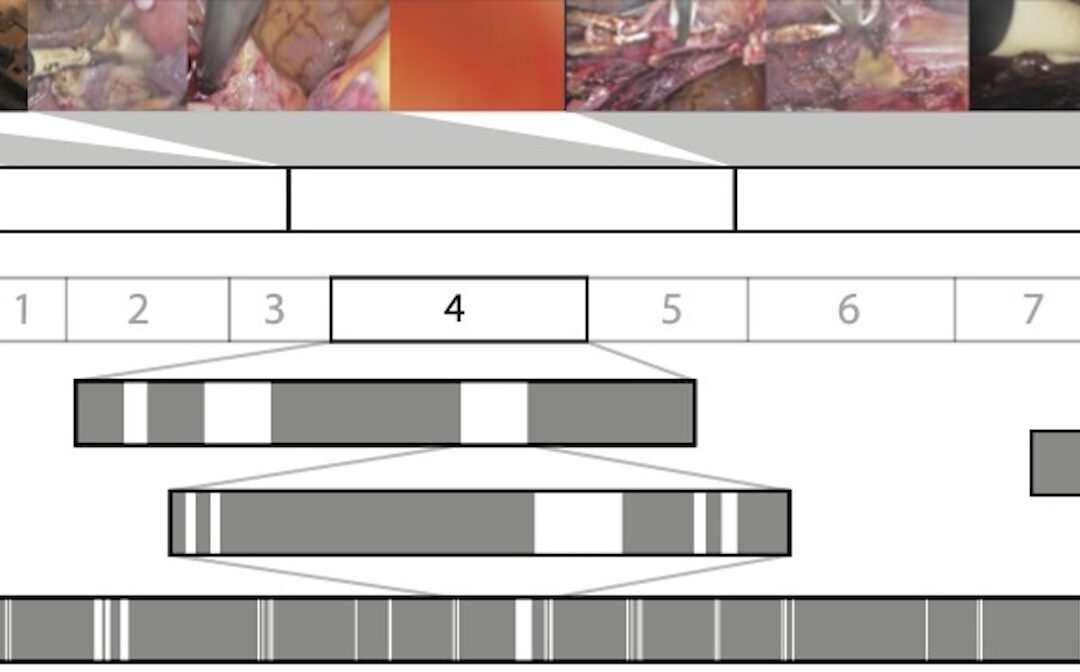
Surgical Video Summarization: Multifarious Uses, Summarization Process and Ad-Hoc Coordination
While surgical videos are valuable support material for activities around surgery, their summarization demands great amounts of time from surgeons, limiting the production of videos. Through fieldwork, we show current practices around surgical videos. First, we...
ResoMeds: a social network sharing videos
Case reports enrich medical knowledge and training, and improve practice [1-4]. However, their publication is often limited in existing journals [5]. We aim to highlight the importance of creating a platform for physician exchange to promote peer learning, case...
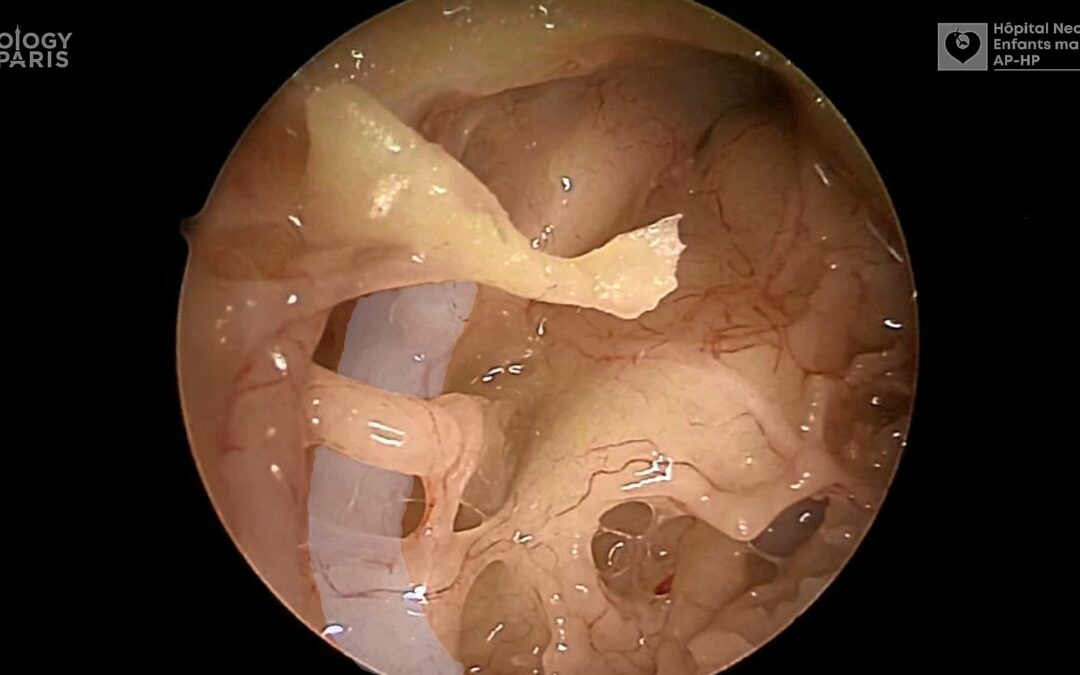
Videos improve knowledge retention of surgical anatomy
In otolaryngology, a new publication shows that an educational video improves anatomy learning and knowledge retention in the long term. This study conducted by the ENT team at Necker-Enfants Malades, APHP (Université Paris Cité) and led by Pr François Simon shows the...
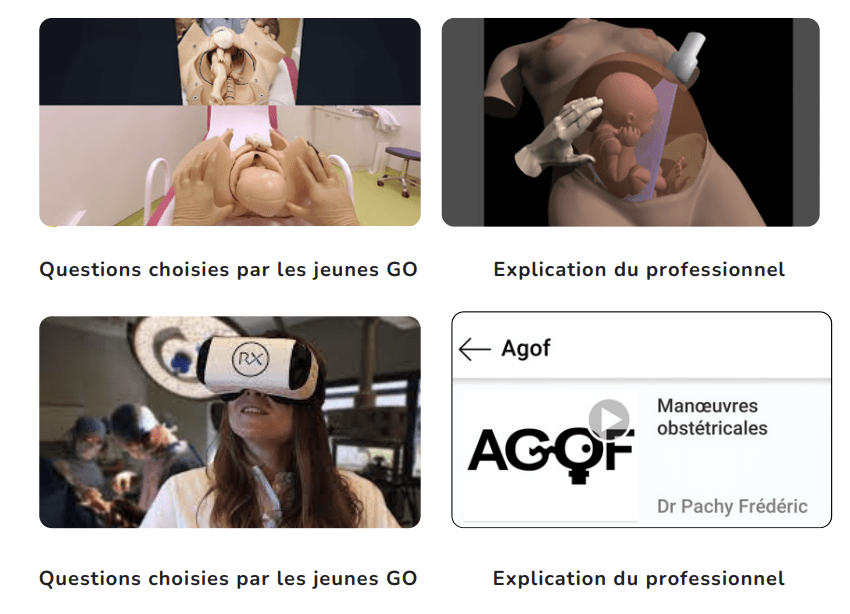
Surgical videos: using the most efficient medium. AGOF’s associative experience
In 2010, the French National Authority for Health (HAS) issued the famous slogan for apprentice surgeons: "Never perform surgery on a patient for the first time" (1). It is sometimes difficult for a young surgeon to accept that he or she has not received sufficient...
